I have completed the tape joints now using the following method: laid out one set of planks i.e. one side of the craft, clamped either side of the joint using scraps of wood screwed though to the bench (not through the planks) clamped the ends of the planks using the same method, checked all the planks were in line then taped the joints and allowed to dry, then clamping a piece of wood a couple of feet long over the joints to support them I turned the planks over clamped them down and taped the other side, note that I laid a piece of PVC down so that the resin did not stick the planks to anything else, next I laid spacers over the planks and laid the second set of planks over the first using the previously taped ones on the bottom as a reference, this ensures that both sides of the craft are the same so I figure there should be no twist or buckle, then clamped them down and taped them turning to do the other side in the same way as before

 All the planks laid out
Joints clamped and taped
All the planks laid out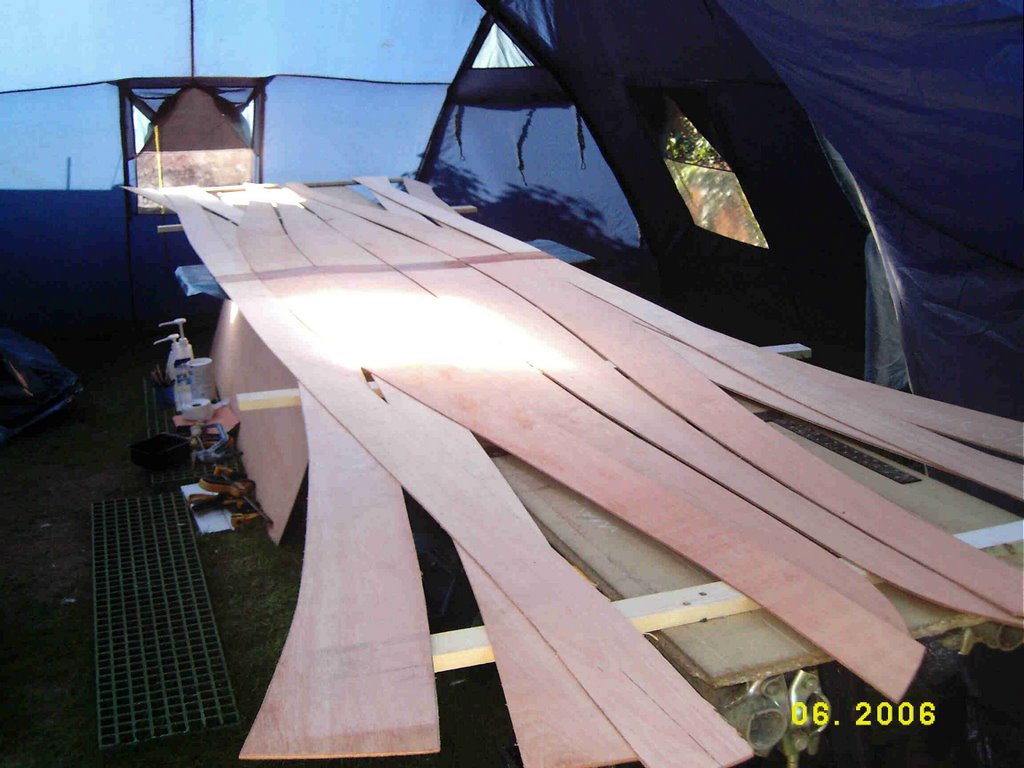 resin cured and planks laid out in order


Bottom planks stitched together

Dave adding a bit of weight to the situation


Plank 3 getting stitched
posted by Dano at
2:51 pm
![]()
![]()


2 Comments:
Nice job mate - you obviously spent a lot of time and effort publishing all those pics and notes.
I did a similar thing with 4mm ply and coated it with GRP inside and out.
Floats anyway and looks pretty neat, but i'd love to build a real nice cedar strip prospector when i can squeeeeeze some time to do it.
Nice one...
By Anonymous, at 9:01 pm
Cable ties work really well as an alternative to wire. Don't be tempted to use the smallest ties, they're not up to the job and break often.
By Anonymous, at 6:56 pm
Post a Comment
<< Home