The plans from Selway Fisher are comprehensive and explain pretty much everything I need for the construction.
The dimensions are down to the millimetre so a good tape measure and sharp pencil were called for.
The other tools I used were a square, a hard straight edge of 4 foot or more, a length of beading or scotia (curtain rail was advised) to get a nice curve along the panels and a shorted flexible length of similar material for the curved ends of the planks, a handful of panel pins and pin hammer, in addition to a tape a ruler was useful.
I placed a couple of trestle tables out in my front drive and placed an 8x2 flooring board on them, this supported the 8x4 MDF sheet nicely.
Stations are marked across the width of the board at regular intervals; I used one edge only to mark of the stations using a square and straight edge and the same edge to take the measurements from so that everything is square and true.
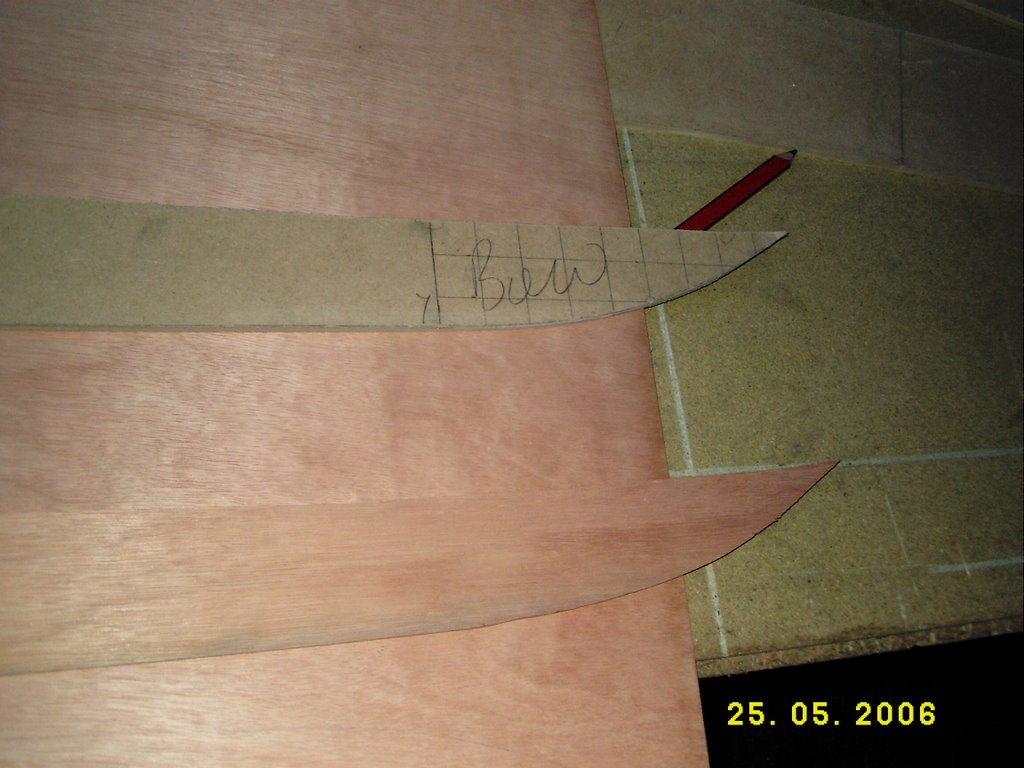
When transferring the measurements I found it useful to circle the marks made on the templates so they were easily spotted when drawing the final line of the panel, I also circled the measurements on the plan in pencil to avoid any errors.
If I had one slight criticism of the plans it would be that the measurements are given in both imperial and metric which make it a little hard to read due to the sheer volume of numbers on them.
I worked on one panel at a time so as not to confuse myself and when one was marked off I put panel pins in or very near the marks so that as I lay my beading against them to obtain a fair curve my pencil line would go through the mark, the use of paint pots is handy here to hold the beading in place otherwise you end up with panel pins pinging off everywhere.
After all the panels were marked off I transferred the mould positions and any other markings to the panels including plank number and chines etc, as these are templates it does not matter how many marking are on them but marking directly onto a ply panel may require a fair bit of sanding to remove them.
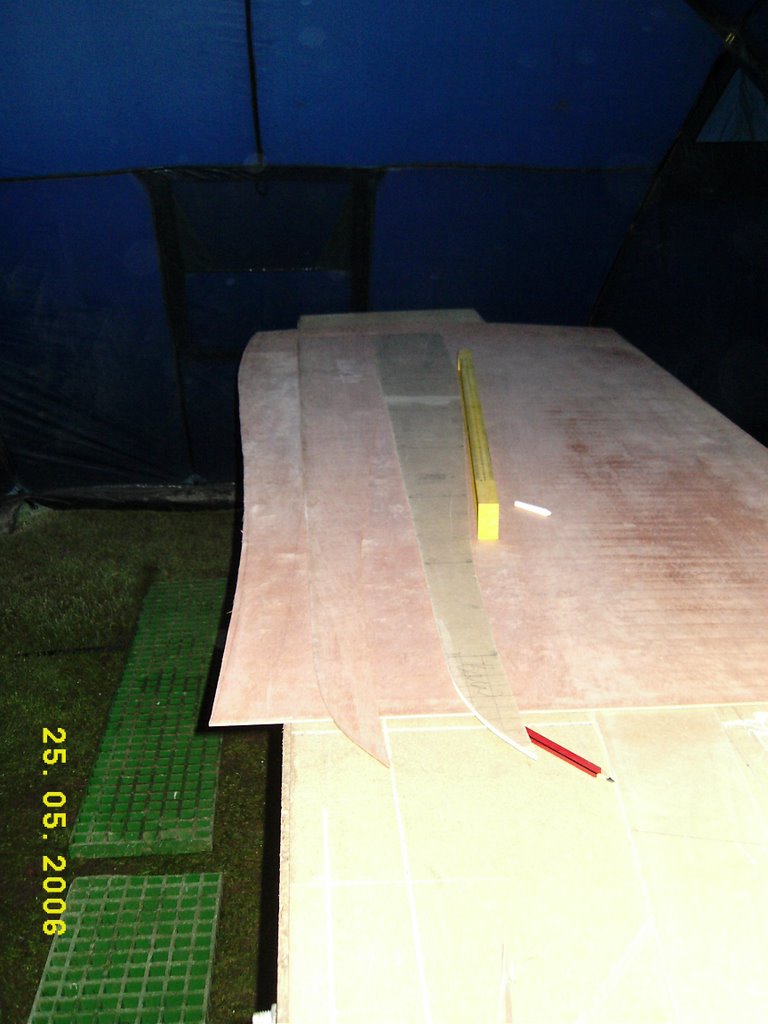
Next I cut out the templates with a jigsaw.
I intend to lay them onto the ply with as little wastage as possible, mark them with pencil and cut them out with a Stanley knife, that way avoiding too much edge finishing.
I intend to used ply butt-straps to join the two halves of the planks together and will bevel the edges of the butts for a nice finish, it may even be easier to run a router over the edges to put a bull nose on it, I will have to try it out on a scrap and see.
Before any butt-straps or fillets are applied the plans / instructions state that the ply must be primed with catalysed resin, I am toying with the idea of completely priming every plank before I butt them together including the edges, this I thought would have the following pros:
· They final canoe has to have a coating of resin and its easier to run a roller over a plank than when it is stitched into a form or a complete canoe
· It would provide a nice even finish rather than patchy bits that have been primed and coated compared to other areas that have only had one coat (I hope to have a varnished wood finish)
· It would protect the wood from marks and knocks, all marking out can be made onto the hard resin surface and wiped off rather than sanded off the wood
And the following cons:
This may not be an economical use of resin and consumables i.e. brushes
It may alter the flexibility of the planks restricting their ability to form the correct shapes at the chines
More time and space may be required in the long run to enable separate planks to be primed
I may have to just suck it and see
I am thinking that a varnished wood finish wont look as good as I am hoping for and I half wish that I had opted for a strip construction to obtain a truly beautiful craft but I will persevere and pay as much attention to detail as possible to obtain the best results, I can always build a strip canoe next time.