Stitch Progress
We found that the earth wire from 1.5 flat twin and earth lighting cable is good for the stitches, its smaller than the red and black pair so must be about 1mm, to mark the planks for stitching we just used a pencil running it up the planks using the middle finger as a guide at about 6mm. using a set of dividers 8 inch marks were made along one of the lines (the upper line only), I found that marking an inch either side of the tape joint and placing the first two stitches there give a good starting point whilst not stressing the joint then instead of marking out the stitch marks I just drilled as I went using the holes on the other plank as a guide, this meant that there was no chance the stitch holes would "creep" out of line (this may have been down to me and the dividers!) we found that its easier to make up loads of stitches before hand by cutting lengths of 3-4 inches and bending them in the middle into "staples" a pair of flat pliers makes for a better twist, needle nose pliers are handy for threading stitches in awkward places. Quick clamps / grips are handy for holding the plank ends in place whilst you are stitching along, there are over 200 stitches


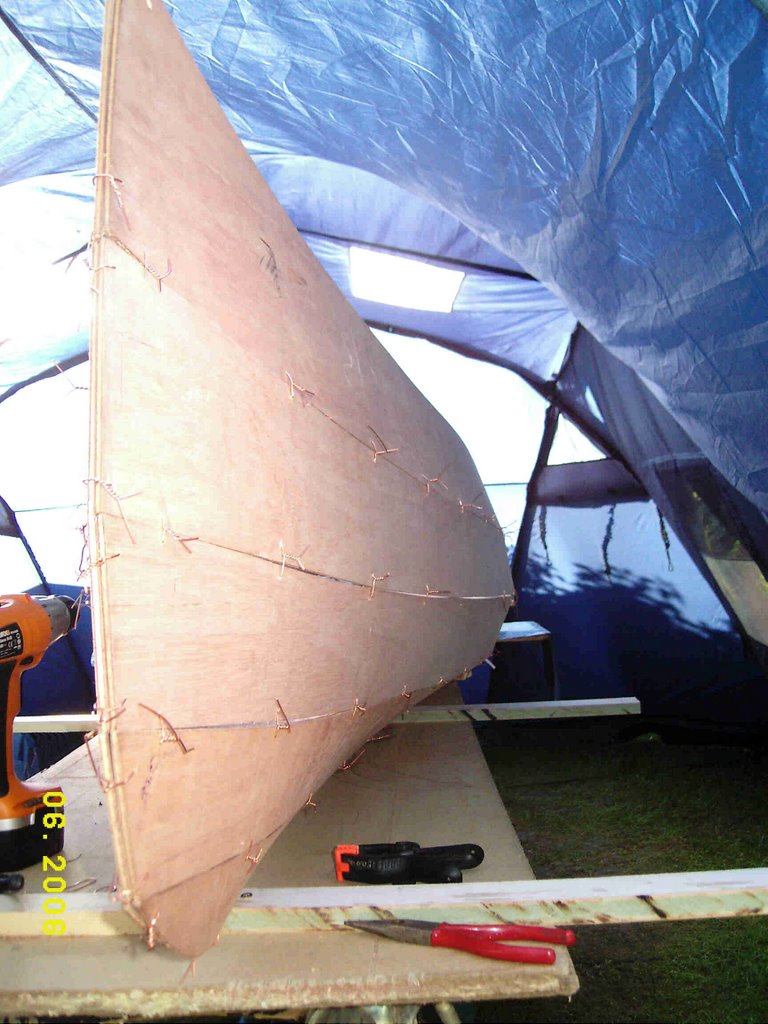
 The ends of the planks are slightly out of line here but I'm hoping that they can be trimmed when the resin fillets are added


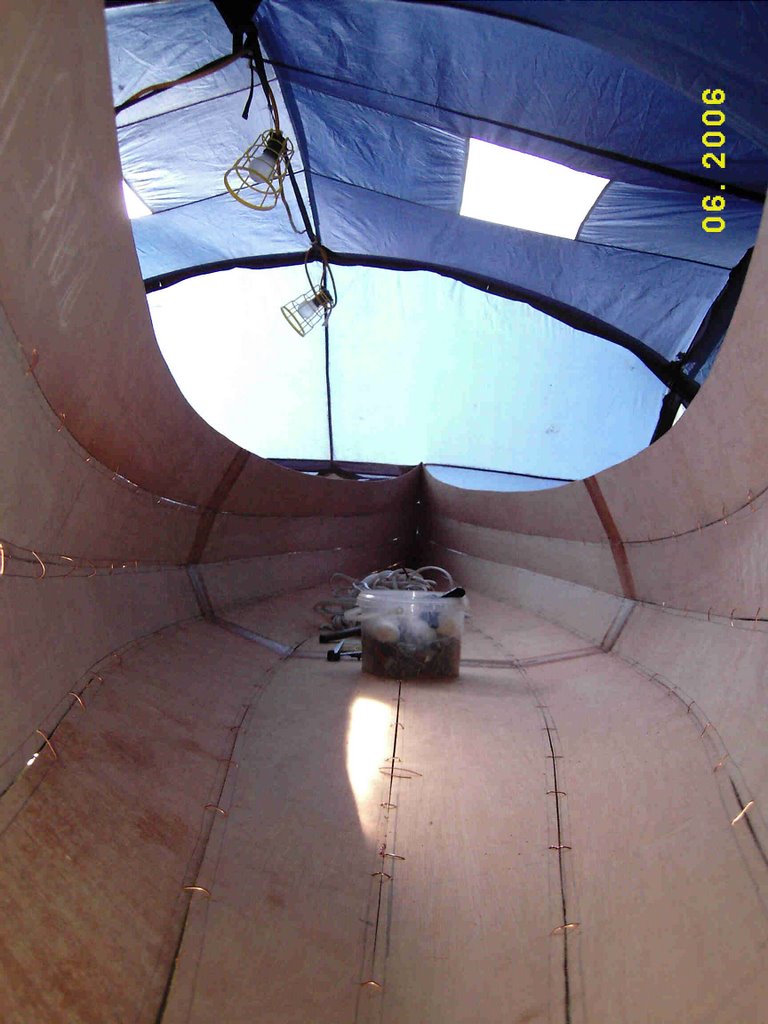
 Sam checking my work
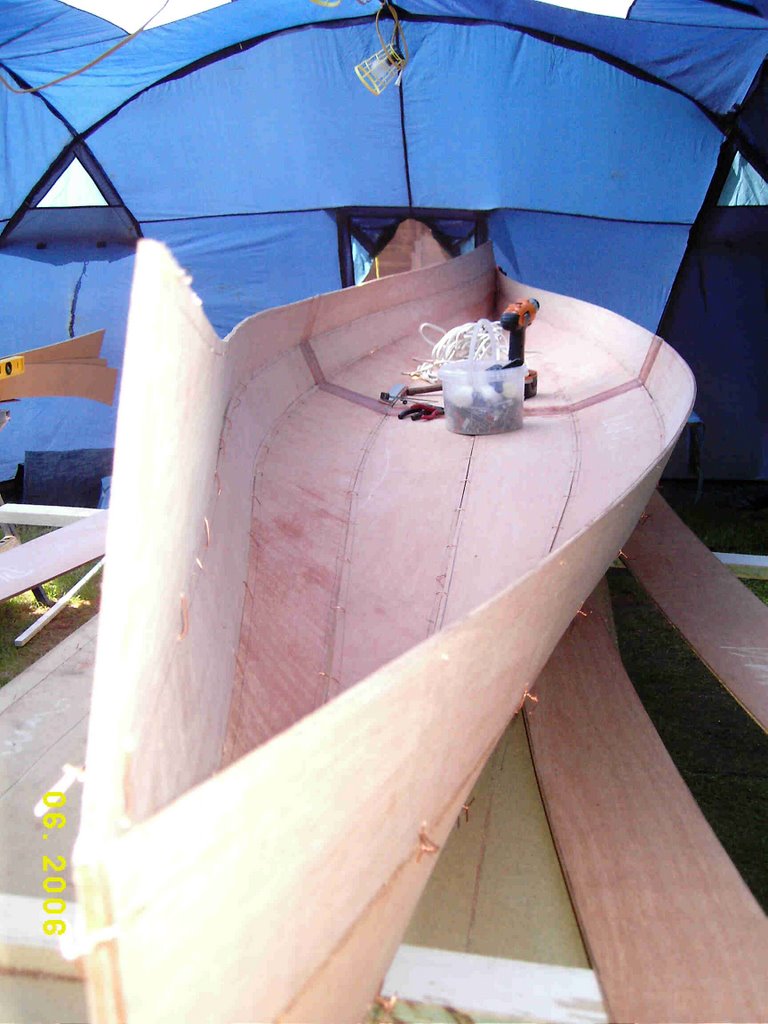
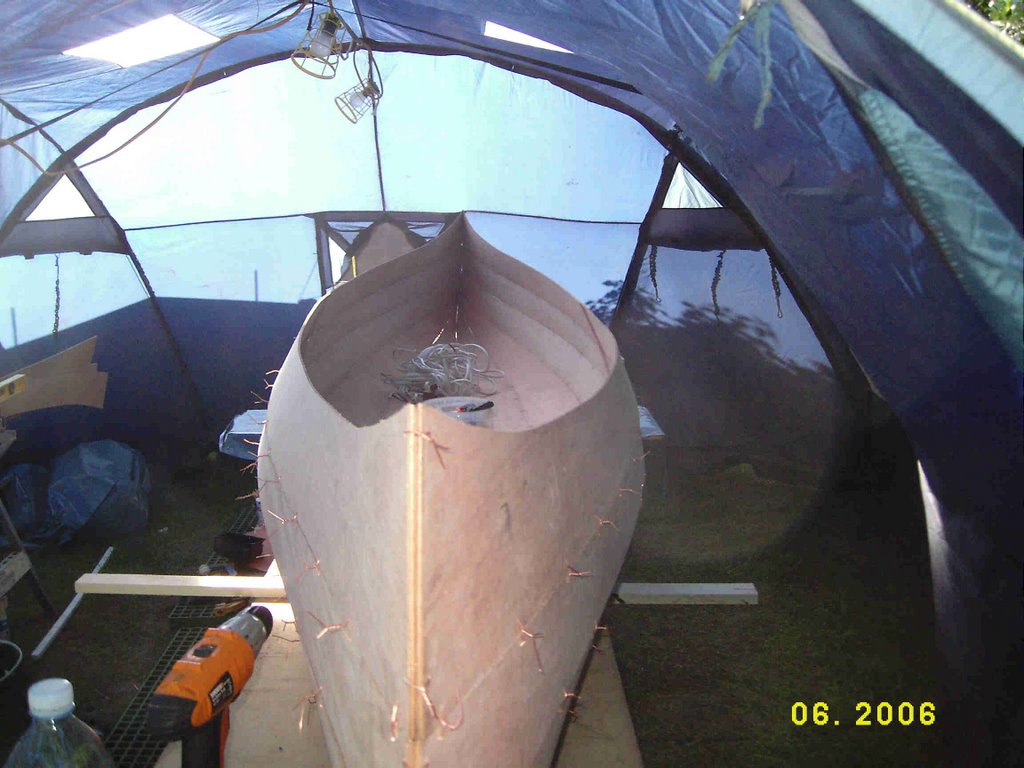
 All of the planks stitched in place
 The ends of the planks are slightly out of line here but I'm hoping that they can be trimmed when the resin fillets are added
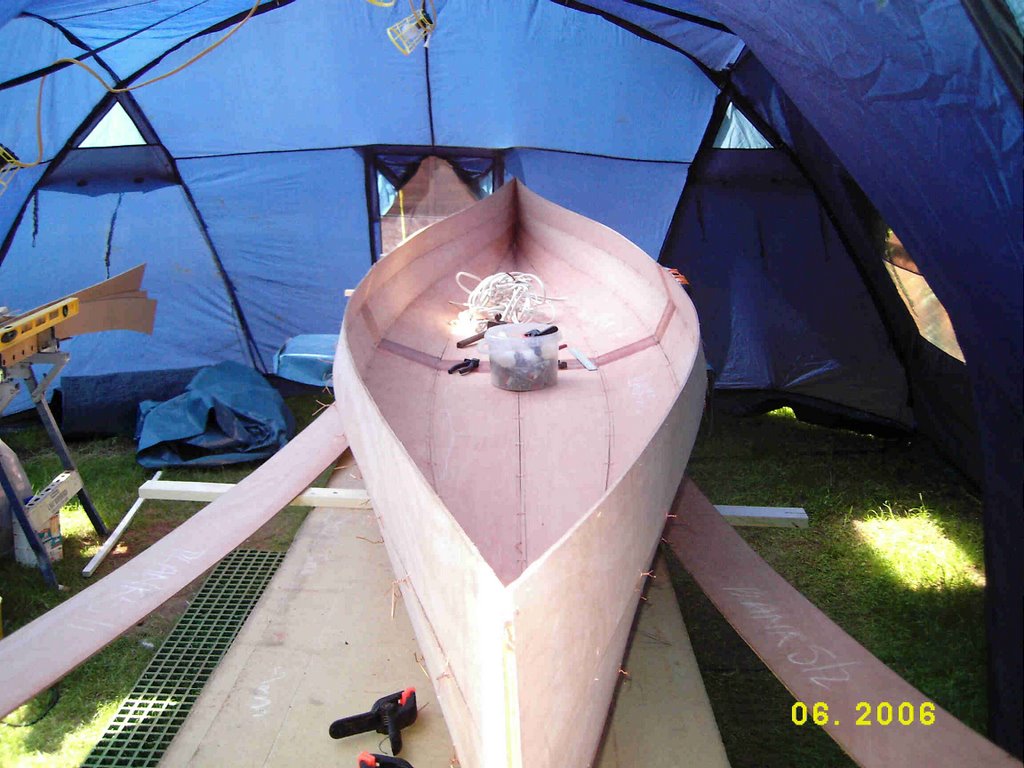 Sam checking my work
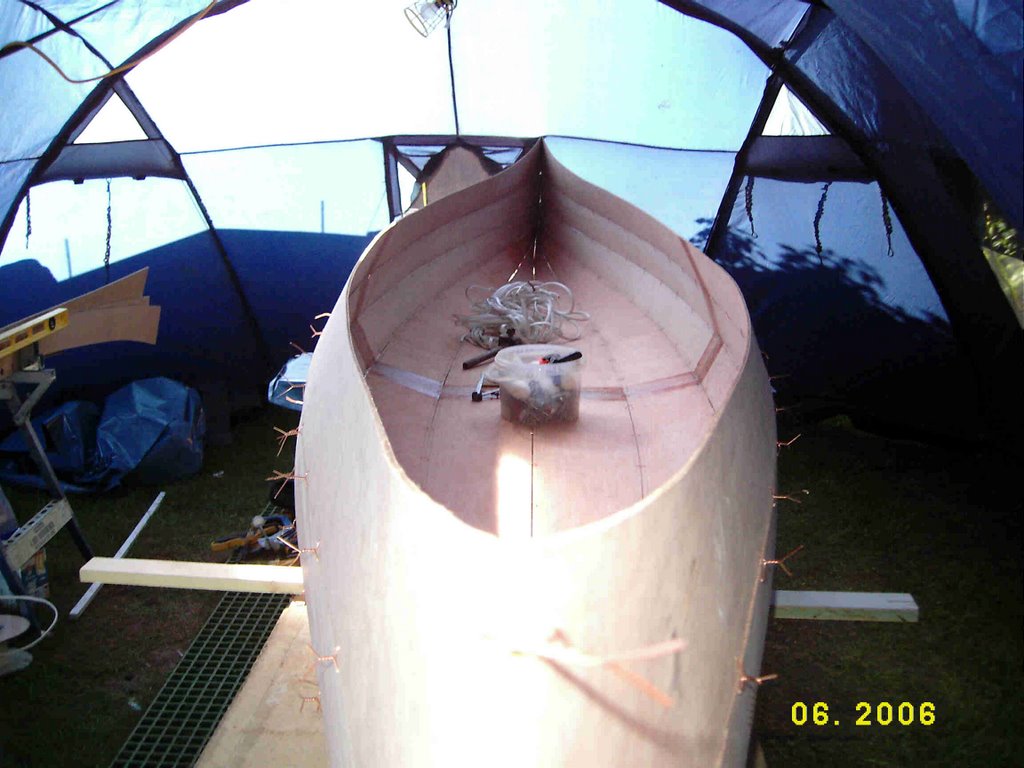 All of the planks stitched in place
posted by Dano at
3:55 pm
|
0 comments
![]()
![]()


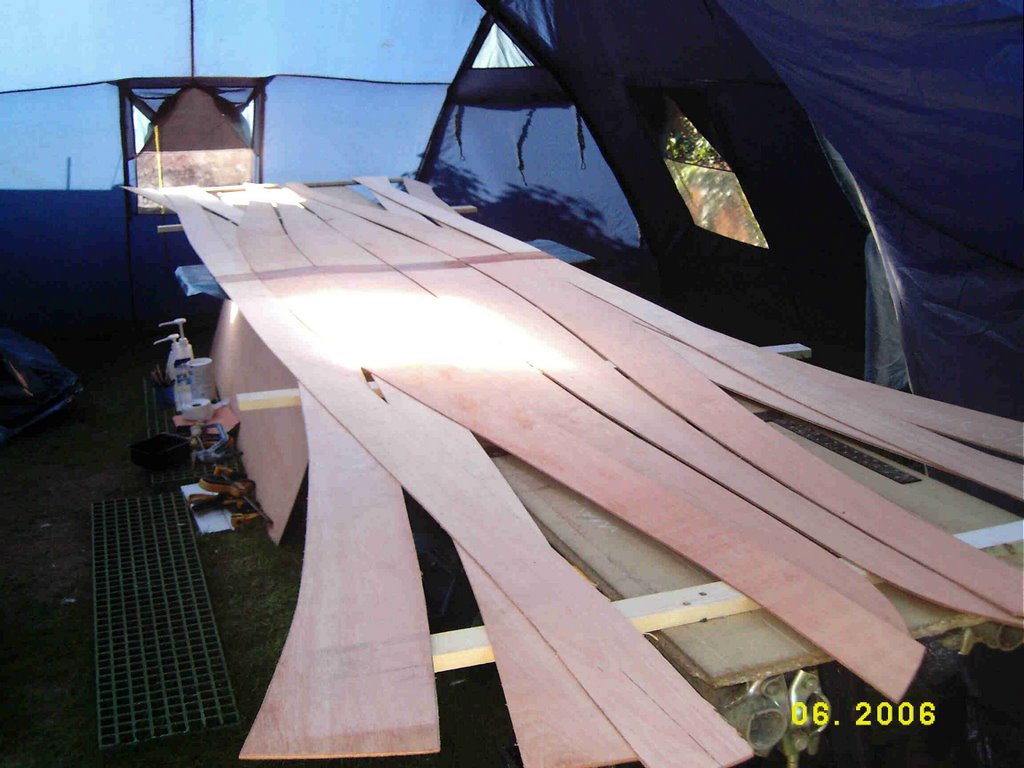
 All the planks laid out